Application noteFinding burrs and chipped edges on machined parts
The short answer
Use dark-field lighting: a low-angle ring light close to the part, or bar lights from the sides. Flat faces stay dark, and every edge, burr and chip catches the light.
- Technique
- Dark field
- Industry
- Automotive and machined parts
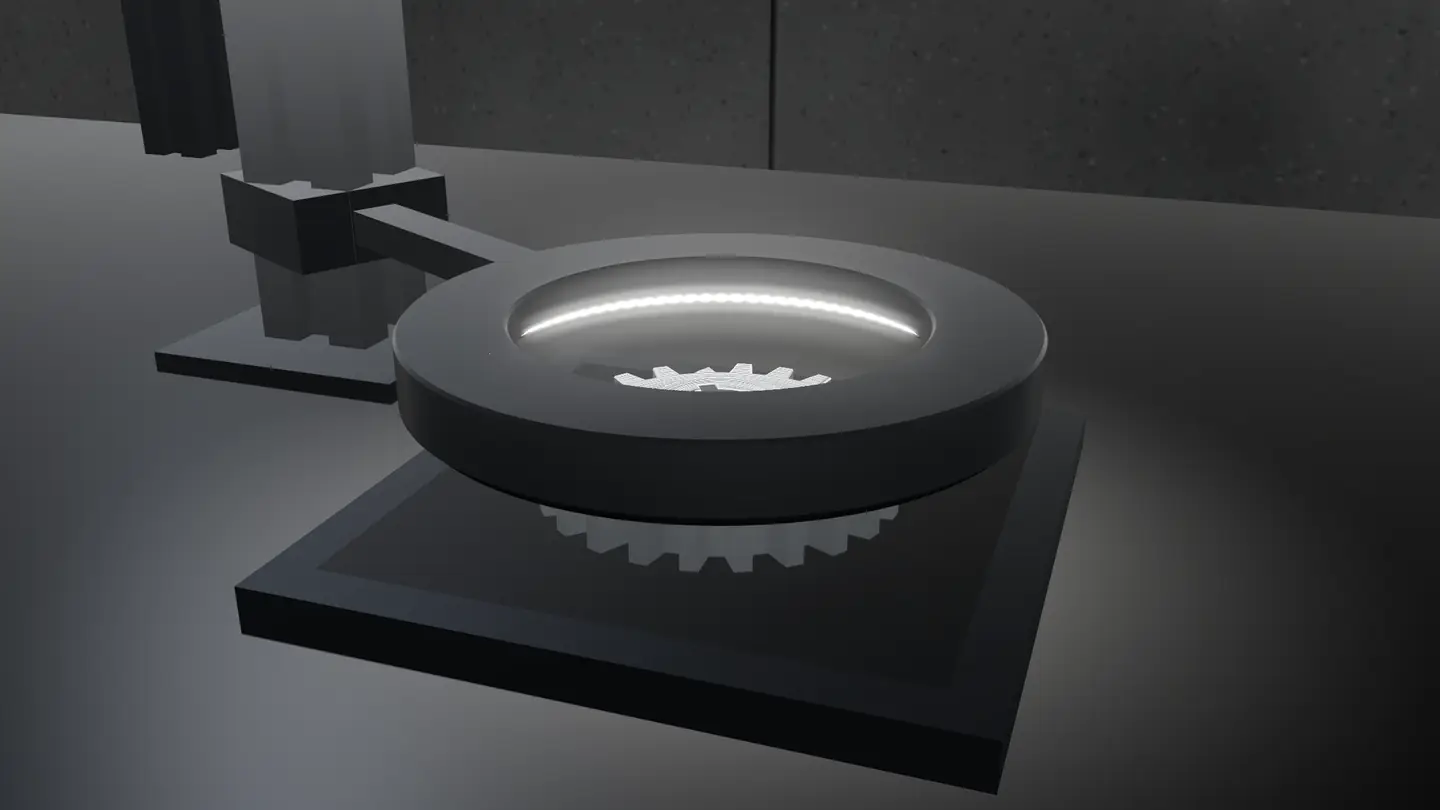
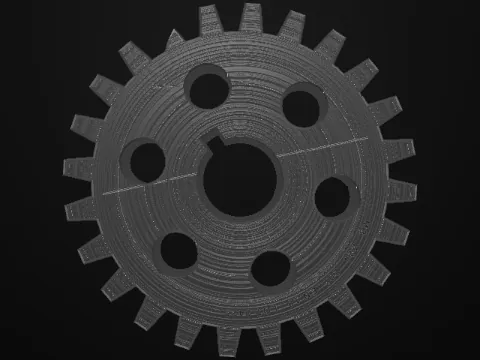
What the camera sees
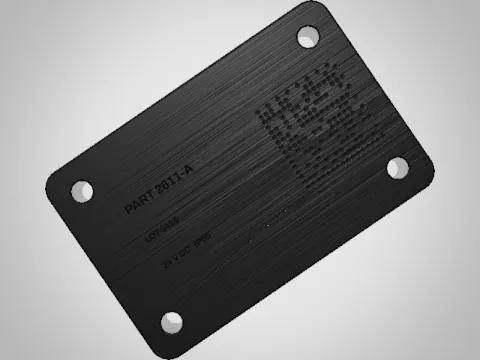
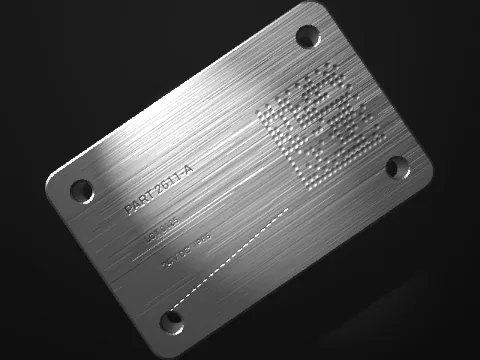
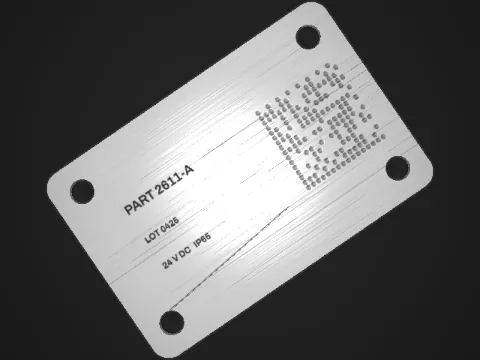
Camera views come from the lighting bench, which simulates each light on the same part.
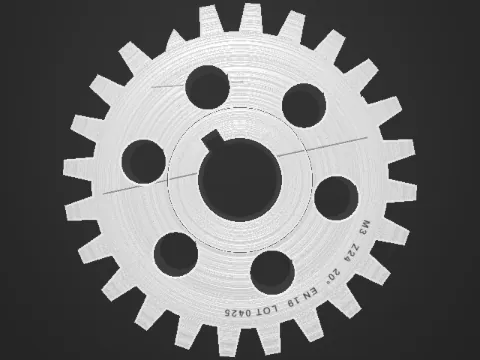 DomeDark field
The problem
Machining, punching and deburring leave raised slivers of metal on edges and around holes, and handling chips corners and teeth. On a bright, evenly lit face these defects are a few pixels of slightly different grey along an edge that is already bright. Under a dome, or a ring light at the lens, they disappear into the face.
Why it works
Light from a low angle skims across the flat face and reflects away from the lens, so the face looks dark. Edges, chamfers and anything that sticks up or breaks off face the light at a steeper angle and send part of it up into the camera. A clean edge shows as an even, thin bright line. A burr shows as a bright bead or spike on that line, and a chip as a break in it, or a bright patch where the new surface faces the light.
How to set it up
- Mount the low-angle ring close to the part, so its light skims the face. Raised higher, it turns back into a bright-field light.
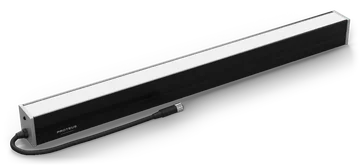
- For long or rectangular parts, use two or four bar lights around the part at a low angle instead of a ring.
- Compare each edge with the same edge on a good part: an even line is good; a bead, a spike or a gap is a defect.
- Keep the part flat and at a fixed height. Tilting it changes which edges catch the light.
- Red light with a monochrome camera and a matching filter keeps room light off the dark face.
What usually goes wrong
- A dome or a diffuse light, which lights the face as brightly as the edges and hides the burr.
- Coolant, swarf or dust on the part. They catch the light just as a burr does; clean or blow off the part first.
- Rough cast or shot-blasted faces, where the whole surface scatters light. Check edge chips on those with a backlight instead.
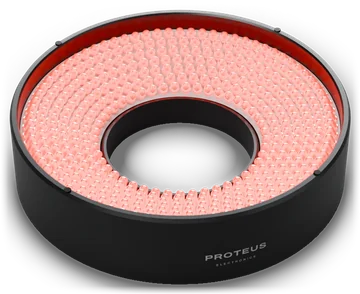
Lights for this job
Tell us what you need to see.
Describe the part, the defect and the working distance. An engineer replies with the light, or designs one.