Application noteReading laser marks on flat metal and plastic parts
The short answer
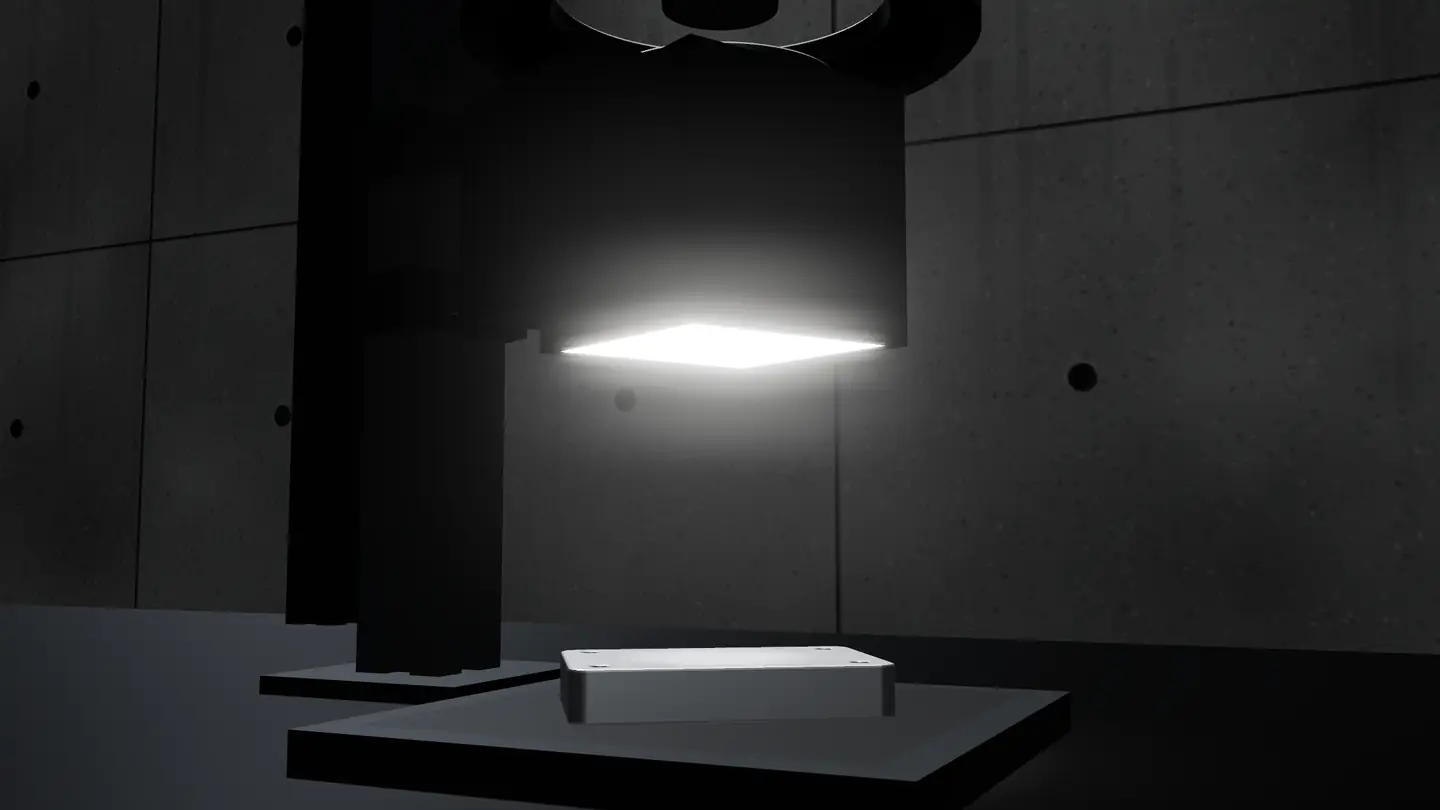
Use a co-axial light on smooth, flat faces. The face reflects the light straight back into the lens and looks bright, and the laser mark, which scatters it, reads dark.
- Technique
- Co-axial
- Industries
- Electronics, Automotive and machined parts
What the camera sees
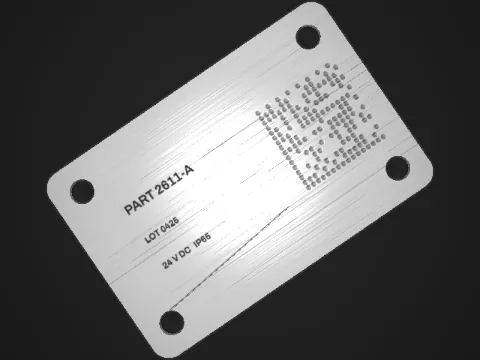
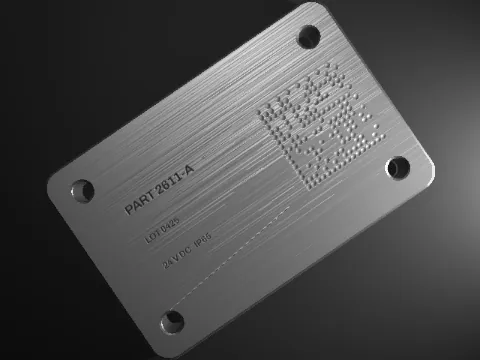
Camera views come from the lighting bench, which simulates each light on the same part.
 Bar lightCo-axial
The problem
Laser marking writes serial numbers, 2D codes and logos onto nameplates, housings, connectors and boards. Unlike a dot-peened mark, it barely changes the shape of the surface: it changes its colour or texture. Under a ring or bar light, a brushed or polished face throws reflections and streaks as bright as the mark, and the contrast changes as the part moves.
Why it works
A co-axial light sends its light down the camera's own axis. A smooth, flat face square to the camera reflects it straight back and looks evenly bright. The marked area is rougher or darker: it scatters or absorbs the light, so less of it returns to the lens, and the mark reads dark on a bright, even face. Brushing marks across the face stop mattering, because the face reflects the same light everywhere.
How to set it up
- Mount the part with the marked face square to the camera. A tilted face reflects the light away and goes dark.
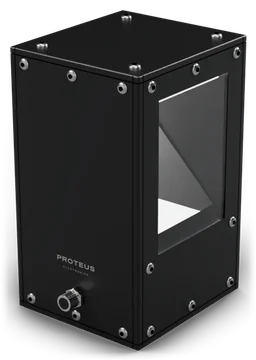
- Choose a light whose window is larger than the field of view; the camera looks through it.
- On textured, curved or bead-blasted parts the reflection breaks up. Use a dome light there.
- Marks on dark anodising or black plastic can be faint in white light. Try red or infrared, where many dyes reflect differently from the mark.
- Allow for more intensity or a longer exposure than with a ring light: the beam splitter passes only part of the light.
What usually goes wrong
- A bar or ring light at an angle on a brushed face, which lights the brushing marks instead of the mark.
- A co-axial light on a curved part, where only a narrow strip reflects back into the lens.
- Fingerprints and oil films, which show up as clearly as the mark.
Lights for this job
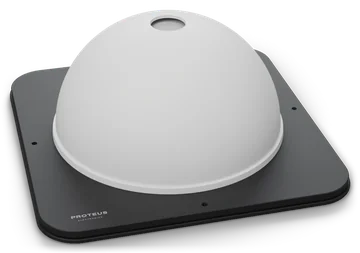
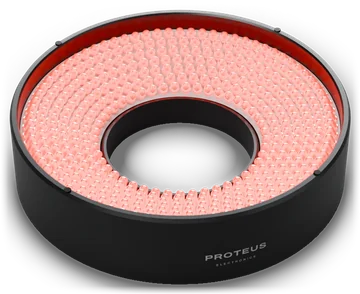
More application notes
Dome
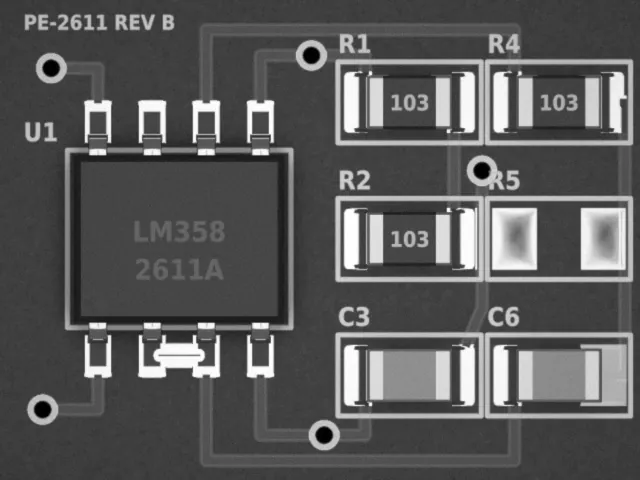
Inspecting solder joints and components on PCBsUse a dome light.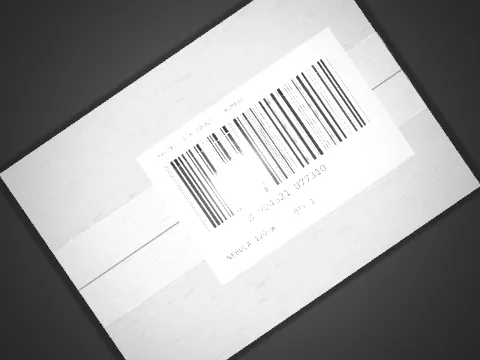
Bright field, red
Using coloured light to hide or highlight printLight the part in the same colour as the print you want to hide, or in the opposite colour to make it stand out.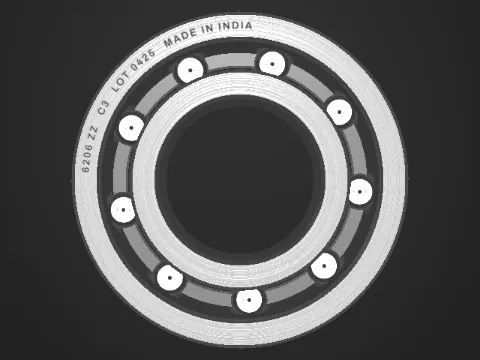
Dome
Reading engraving on curved, shiny partsUse a dome light.
Tell us what you need to see.
Describe the part, the defect and the working distance. An engineer replies with the light, or designs one.