Application notePicking out one feature with a spot light
The short answer
Use a focused spot light. It puts its whole output on one small area, so the feature is bright and the rest of the scene stays dark.
- Technique
- Spot
- Lights
- Stellar
- Industries
- Automotive and machined parts, Electronics
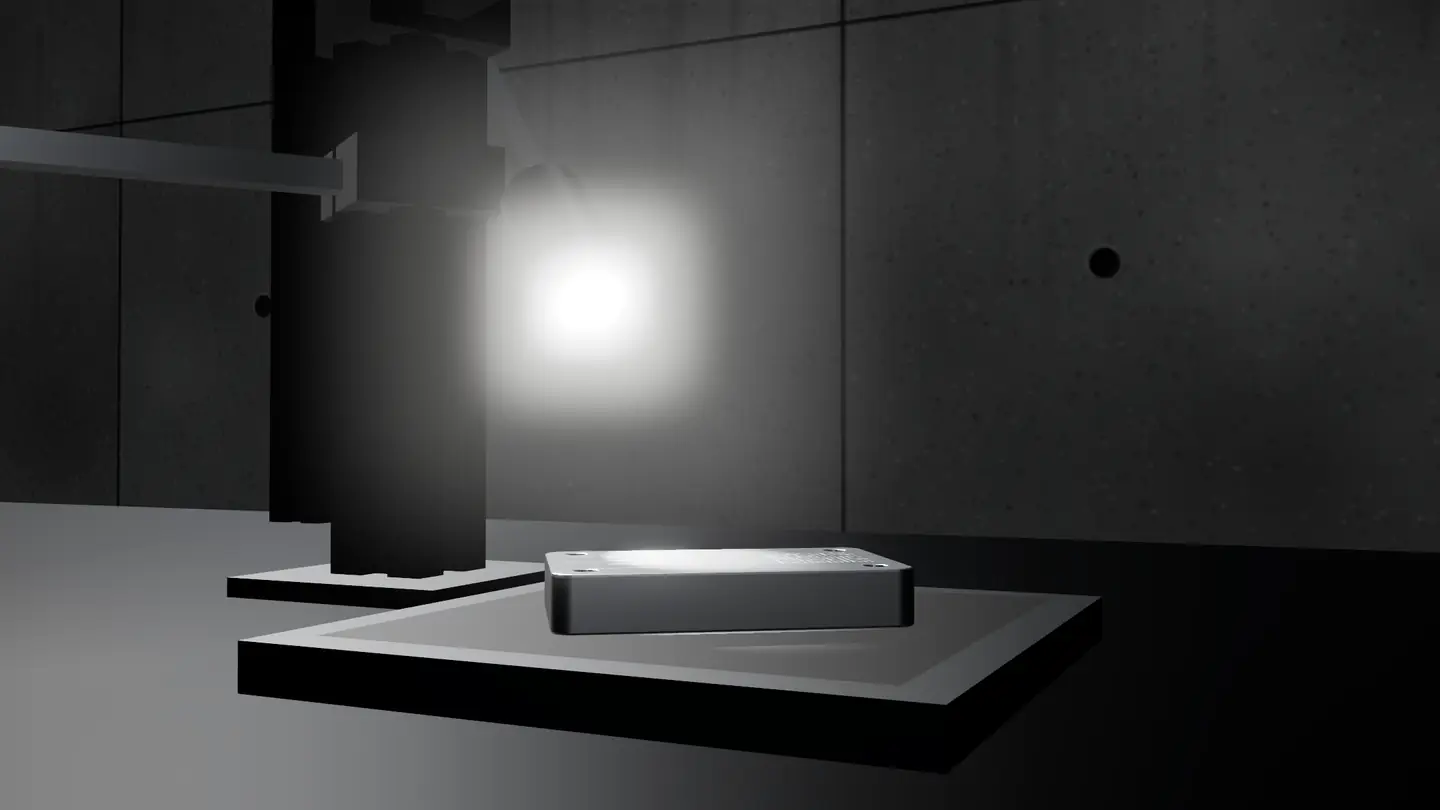
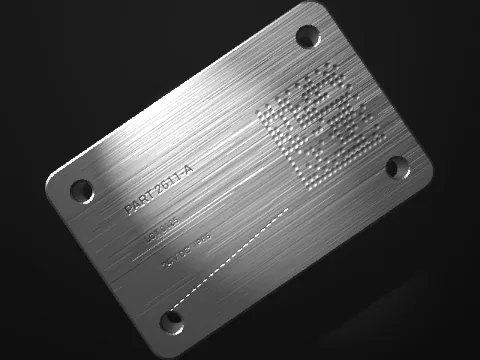
What the camera sees
Camera views come from the lighting bench, which simulates each light on the same part.
The problem
Sometimes only one feature matters: a hole, a pin, a weld, a mark or a part's position in a fixture. Lighting the whole scene brings in clutter, and at long working distances a ring or bar light spreads its output too thin.
Why it works
A spot light concentrates its output into a narrow beam, so the lit area is small and bright. The feature stands out against an unlit background, and the high intensity allows short exposures on fast lines.
How to set it up
- Match the beam to the distance: a narrow beam for a small area far away, a wider one for a larger area or a shorter distance.
- Aim from the side to bring out edges and texture, or close to the lens axis to light a flat face.
- Use a spot light to add light to one problem area in a cell that already has a general light.
What usually goes wrong
- The spot aimed straight at a shiny face from beside the lens, which puts a hot spot in the image.
- A beam too narrow for the part's position tolerance, so the feature drifts out of the light.
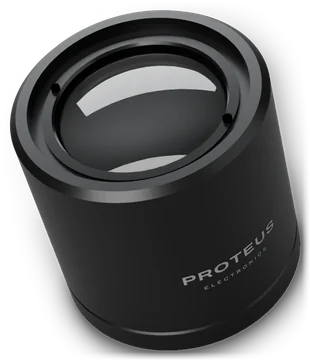
Lights for this job
More application notes
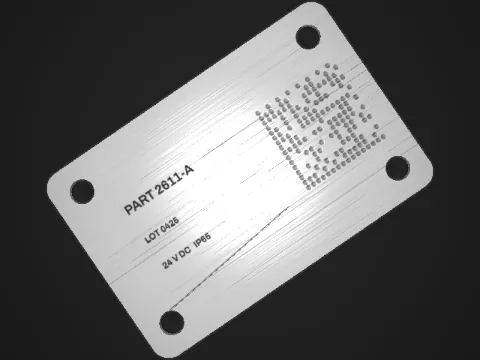
Co-axial
Reading laser marks on flat metal and plastic partsUse a co-axial light on smooth, flat faces.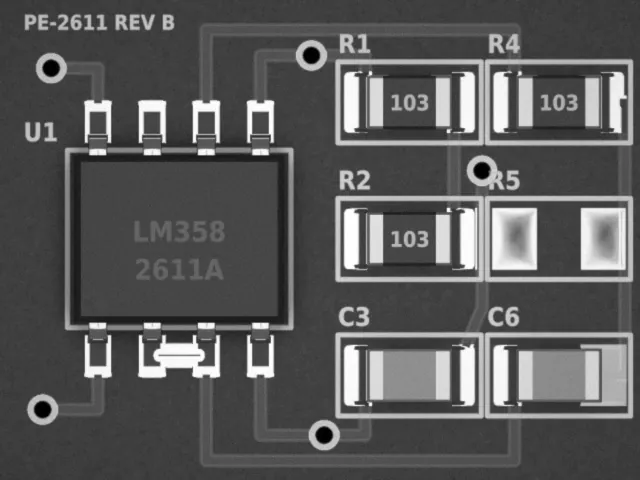
Dome
Inspecting solder joints and components on PCBsUse a dome light.
Bright field, red
Using coloured light to hide or highlight printLight the part in the same colour as the print you want to hide, or in the opposite colour to make it stand out.
Tell us what you need to see.
Describe the part, the defect and the working distance. An engineer replies with the light, or designs one.