Application noteInspecting threads, profiles and gear teeth with a backlight
The short answer
Use a backlight. With the light behind the part, the camera sees a sharp silhouette, so you measure the outline and ignore the surface.
- Technique
- Backlight
- Lights
- Nebula
- Industry
- Automotive and machined parts
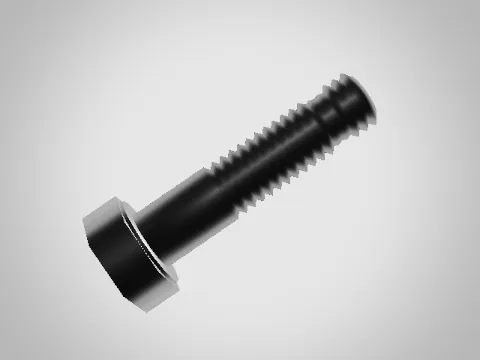
What the camera sees
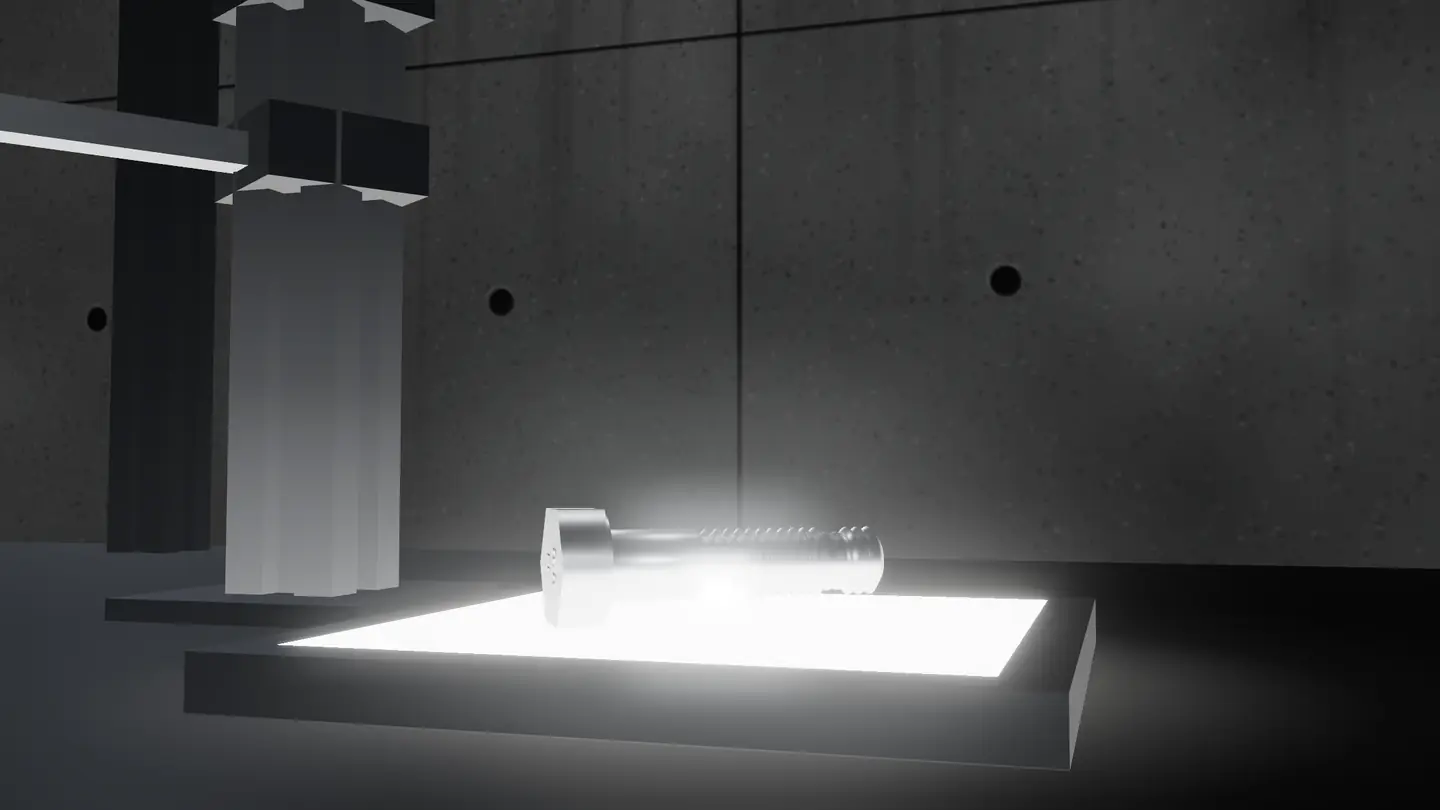
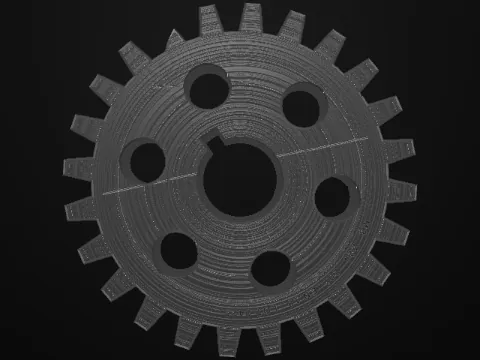
Camera views come from the lighting bench, which simulates each light on the same part.
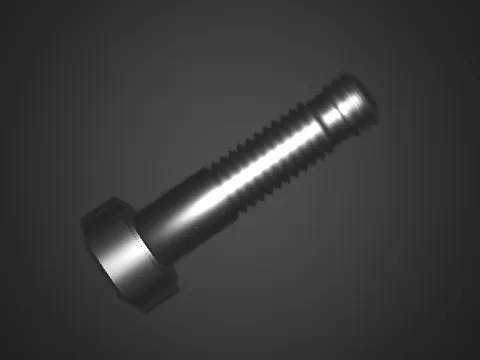 Ring lightBacklight
The problem
Thread pitch, flattened or damaged threads, overall length, head height, chipped or missing gear teeth: all of these live in the outline of the part. Front lighting brings in everything else as well, such as plating, oil, tool marks and reflections, and they move the edges an algorithm finds.
Why it works
A backlight sits behind the part and shines towards the camera. Wherever the part blocks the light the image is dark; everywhere else it is bright. Surface finish, colour and reflections stop mattering, because the camera never sees the lit face. The result is a high-contrast outline, which is what thresholding, edge detection and gauging tools work best on. A chipped tooth or a flattened thread shows as a clear break in that outline.
How to set it up
- Use a backlight larger than the part's silhouette, so every edge sits over evenly lit area.
- Keep other lights off the camera side of the part; any front light brings the surface back into the image.
- For measurement, a telecentric lens on the camera keeps the outline the same size as the part moves towards or away from the lens.
- Red is a common choice with monochrome cameras; a shorter wavelength such as blue can make fine edges sharper.
- Count teeth and compare the profile with a good part to find chips, burrs and missing teeth.
What usually goes wrong
- A backlight smaller than the part, so edges fall near the dimmer border of the panel.
- Room light or a nearby front light reflecting off the part and softening its edges.
- Partly transparent parts, which let light through and lose contrast. Test them with a sample before committing.
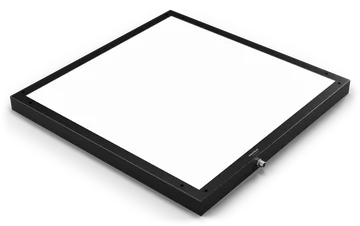
Lights for this job
More application notes
Dark field
Finding burrs and chipped edges on machined partsUse dark-field lighting: a low-angle ring light close to the part, or bar lights from the sides.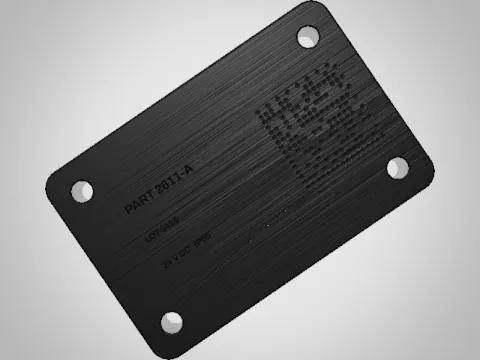
Backlight
Checking holes and slots on stamped and machined partsUse a backlight.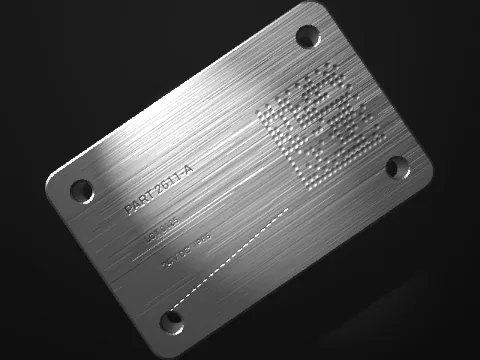
Spot
Picking out one feature with a spot lightUse a focused spot light.
Tell us what you need to see.
Describe the part, the defect and the working distance. An engineer replies with the light, or designs one.